
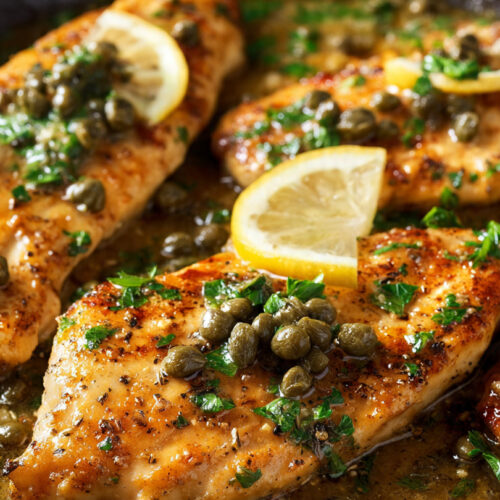
Chicken piccata is the easiest way to look like you spent all day cooking. Ready in 25 minutes with just a simple broth-based sauce—crispy cutlets, bright lemon, and tangy capers. Restaurant-quality dinner starts now.
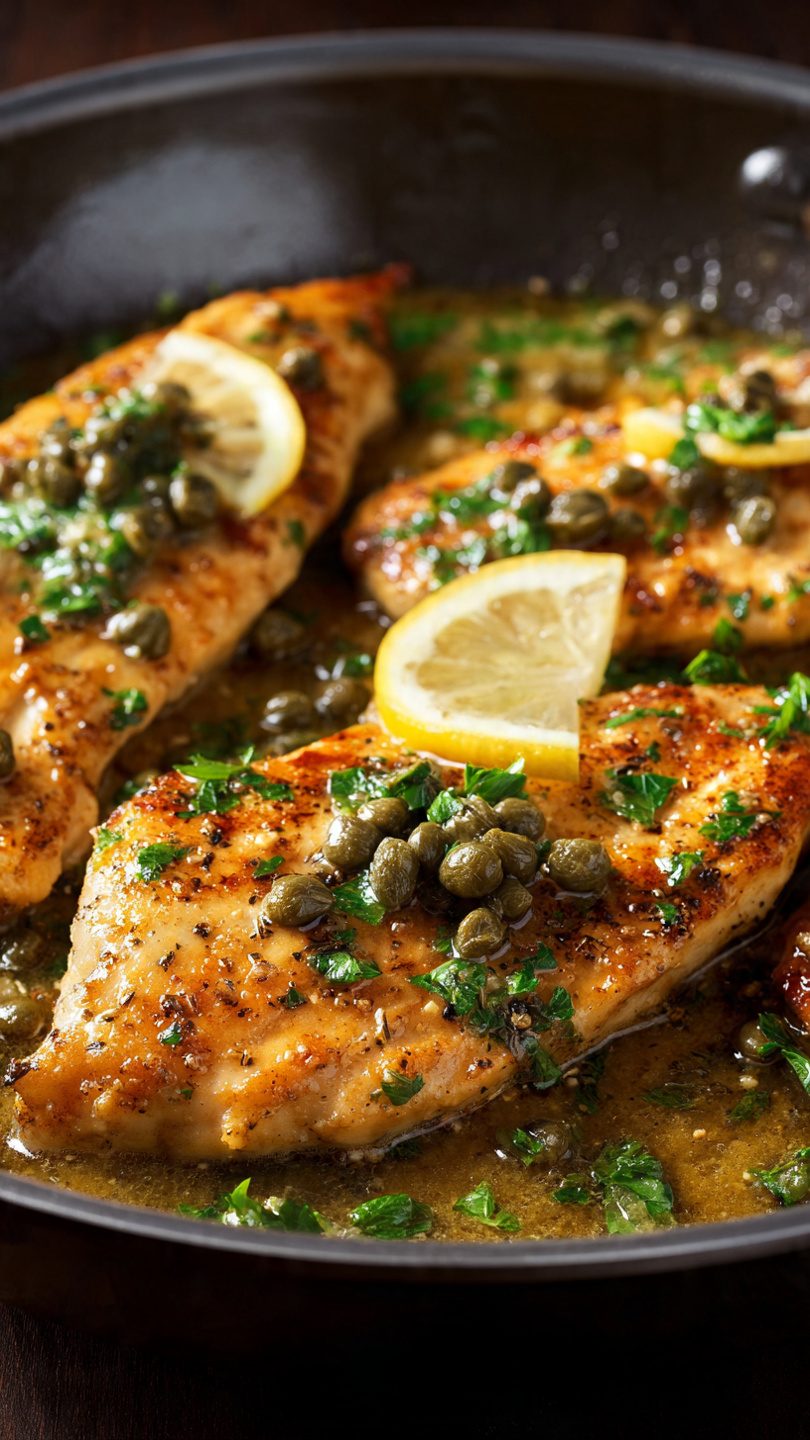
Table of Contents
What Makes Chicken Piccata So Good
The beauty of chicken piccata lies in its simplicity. You’re working with just a few core components that come together to create something way greater than the sum of their parts. The magic happens when you understand how each element plays its role. When thin chicken cutlets hit a hot pan, they develop a golden crust. Meanwhile, that sauce—bright with lemon and salty with capers—becomes the star that transforms basic poultry into something memorable. I’ve made this dish for dozens of dinner parties, and honestly, guests are always shocked when I tell them it took less than half an hour.
The Lemon Caper Sauce Explained
This sauce is where chicken piccata gets its personality. Unlike heavy cream-based sauces, this one stays light and punchy. The acidity from fresh lemon juice brightens everything on the plate. Capers add those little bursts of tangy, briny flavor that make you come back for another bite. When you deglaze the pan with chicken broth (more on that in a second), you’re lifting all those golden, flavorful bits stuck to the bottom. That’s where the real depth comes from—from that fond. The sauce comes together in minutes, and it coats each piece of chicken perfectly. This is why chicken piccata tastes restaurant-quality even though you’re cooking in your own kitchen.
The lemon-caper combination works because both ingredients are acidic and bold enough to stand up to meat without needing any fancy additions. I often add a handful of fresh parsley right at the end for color and freshness. A knob of butter finishes it off, making the sauce glossy and rich. You’ll notice how the sauce clings to the chicken rather than pooling at the bottom of the pan—that’s the emulsion working exactly as it should.
Why Chicken Broth Is the Secret to Perfect Piccata Sauce
Here’s something most recipes won’t tell you: chicken piccata doesn’t need complicated ingredients to taste amazing. I started experimenting with chicken broth years ago because I was curious if a simple broth could deliver restaurant-quality depth. What I discovered was that broth actually works incredibly well. Heavy alcohol-based sauces can sometimes overshadow the delicate lemon-caper flavor profile. Broth, on the other hand, adds body and savory depth while letting the citrus and capers shine.
The reason this works comes down to umami. Chicken broth brings salty, savory notes that deepen the sauce without competing with other flavors. When you deglaze the pan with warm broth, you’re lifting all those golden, flavorful bits stuck to the bottom. The broth reduces slightly, concentrating those flavors. Add butter and lemon juice, and you’ve got a sauce that tastes like you’ve been simmering it for hours, not minutes. Throughout my testing, I’ve found that people can’t tell the difference. What they notice is how silky and well-balanced the sauce tastes.
The best part? This version is simpler, faster, and honestly tastes better. No complicated reductions, no extra ingredients, just pure lemon and caper goodness. I keep a good-quality chicken broth on hand specifically for dishes like this. The better your broth, the better your sauce—it’s that simple.
Pro Tip for Best Results
Use low-sodium broth so you can control the salt level in your sauce. This prevents over-seasoning and lets you adjust flavors as you go, which is key to nailing that balance between bright lemon and savory richness.
Ingredients for the Best Chicken Piccata
Building chicken piccata starts with quality ingredients, but here’s the good news: you probably have most of them already. I’m talking pantry staples that do heavy lifting. The beauty of this dish is that you don’t need exotic items or specialty products. Instead, you focus on getting the fundamentals right. That means fresh lemon, good chicken, proper capers, and quality broth. Everything works together to create something that tastes far more complex than the ingredient list suggests.
Here’s what you’ll gather for four servings:
| Ingredient | Amount | Notes |
|---|---|---|
| Boneless, skinless chicken breasts | 4 (about 1.5 lbs) | Pound thin for even cooking |
| All-purpose flour | 1/2 cup | For dredging and browning |
| Salt and black pepper | To taste | Season before dredging |
| Olive oil | 2 tablespoons | For searing the chicken |
| Butter | 2 tablespoons | Adds richness to sauce |
| Chicken broth | 1 cup | Low-sodium preferred |
| Fresh lemon juice | 1/4 cup | Juice 2-3 fresh lemons |
| Capers | 1/4 cup | Drained, rinsed if very salty |
| Fresh parsley | 2 tablespoons | Chopped, for garnish |
Notice what’s missing from this chicken piccata ingredient list: complicated sauces. Instead, we’re using simple broth to build depth and richness. This approach keeps the recipe straightforward while delivering all the savory complexity you’d expect. The acid comes entirely from fresh lemon juice, which brightens everything on the plate.
The Chicken: How to Slice and Pound It Right
Here’s where most home cooks go wrong with chicken piccata. They use whole breasts straight from the package. That’s actually working against you because thick chicken takes longer to cook, stays uneven, and doesn’t develop that beautiful golden crust. The secret? You pound it thin.
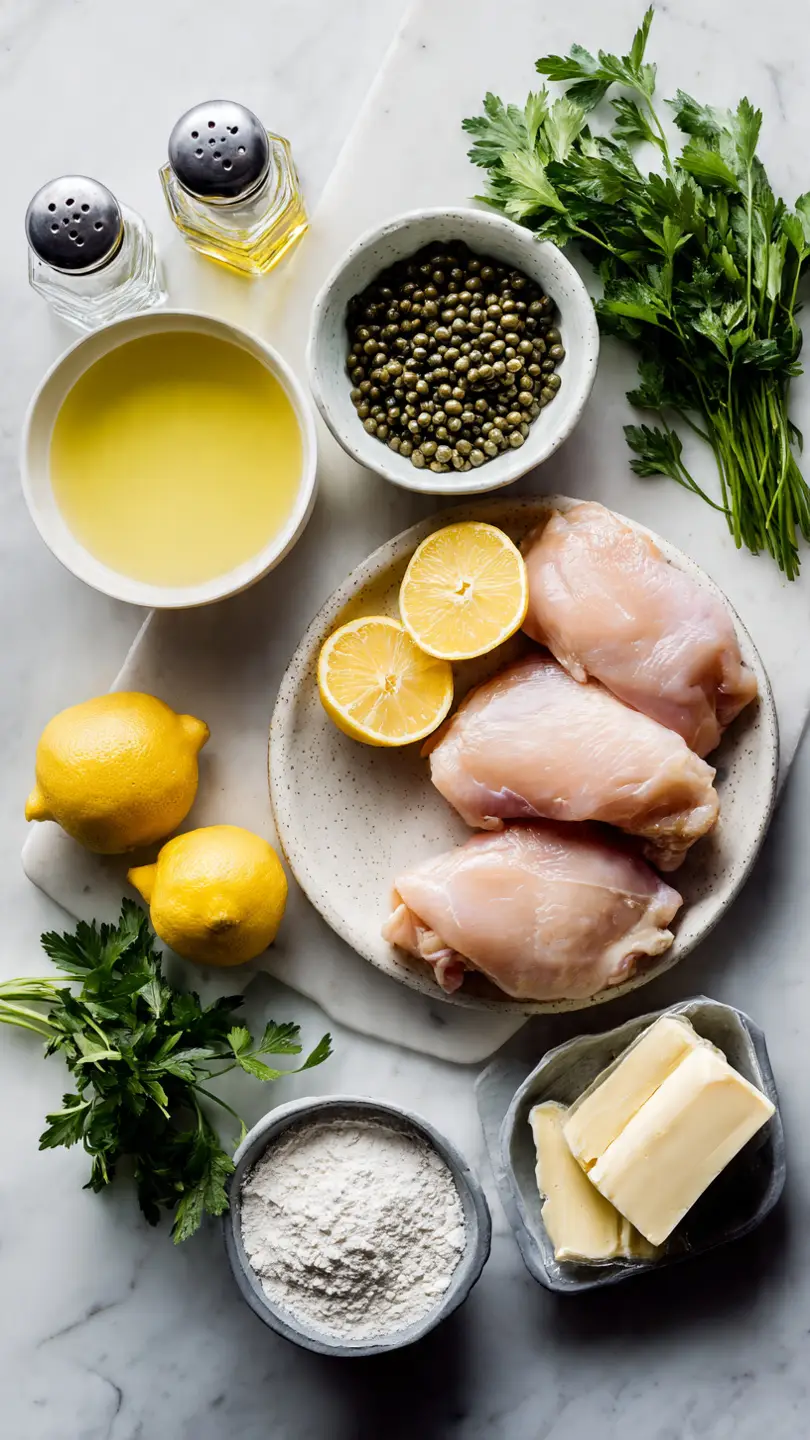
Start by placing your chicken breasts on a cutting board. Then, using a meat mallet, pound each breast to about 1/4-inch thickness. Use gentle, even strokes rather than aggressive whacks. The goal is uniform thinness, not meat that’s been beat to death. You’ll notice the chicken spreads naturally as you pound—that’s what you want. Even thickness means every piece cooks at the same rate. No dry edges while the center stays raw.
If your breasts are particularly thick, you can slice them horizontally first before pounding. Imagine cutting a thick pancake in half to make two thin ones. This gives you more pieces, which actually helps because smaller portions cook faster and more evenly. Either method works—it’s about achieving that consistent 1/4-inch thickness that’s the foundation of restaurant-quality chicken piccata.
Once pounded, season each piece generously with salt and black pepper on both sides. Let this sit for just a minute so the seasoning adheres properly. Then dredge lightly in flour. Don’t go overboard with the flour—you want a thin coating, not a heavy crust. Shake off any excess. This light flour layer creates that golden exterior that signals perfect cooking when the chicken hits the hot pan.
Professional Tip
Place pounded chicken on a plate lined with paper towels until you’re ready to cook. This prevents them from sitting in moisture, which stops them from browning properly in the pan.
Simple Swaps and Substitutions
The foundation of chicken piccata is flexible, which is why I love teaching this recipe. If you can’t find fresh capers, use a smaller amount of capers in brine—they’re saltier, so reduce accordingly. Or skip capers entirely and use green olives instead. The tangy, briny element is what matters, and olives deliver that beautifully.
For the lemon, fresh juice is non-negotiable if you can manage it. Bottled lemon juice tastes flat and metallic compared to fresh. However, if you’re in a pinch, use it—something is better than nothing. Lime juice actually works as a substitute too, giving the dish a different but equally bright flavor profile.
The chicken broth swap is the centerpiece of this halal-friendly version. Some people use vegetable broth, which works fine but tastes a bit more neutral. Chicken broth brings that savory depth I’m after. Whatever broth you choose, make sure it’s low-sodium so you control the salt balance in your sauce. High-sodium broth makes it nearly impossible to avoid over-seasoning your dish.
Butter is important for finishing, but if you need a dairy-free option, use olive oil instead. You’ll lose some richness, but the dish still tastes excellent. Similarly, while I use olive oil for searing, any neutral oil works—avocado oil, vegetable oil, canola oil. Just avoid butter for searing because it burns at high heat.
The beauty of chicken piccata is this: once you master the technique, you own the dish. Ingredients are forgiving as long as you respect the core concept—thin chicken, bright acid, salty-tangy elements, and proper searing technique.
How to Make Chicken Piccata Step by Step
Now comes the fun part: bringing everything together. Making chicken piccata is genuinely fast once you’ve prepared your ingredients. The entire cooking process happens in one pan, which means minimal cleanup and maximum flavor concentration. What takes the longest is actually the pounding and seasoning—once that’s done, dinner is 15 minutes away. The magic happens when you understand the two-phase cooking process: searing the chicken first, then building the sauce without the chicken in the pan. This technique ensures you get that crispy exterior while the sauce develops properly.
Searing the Chicken Perfectly Golden
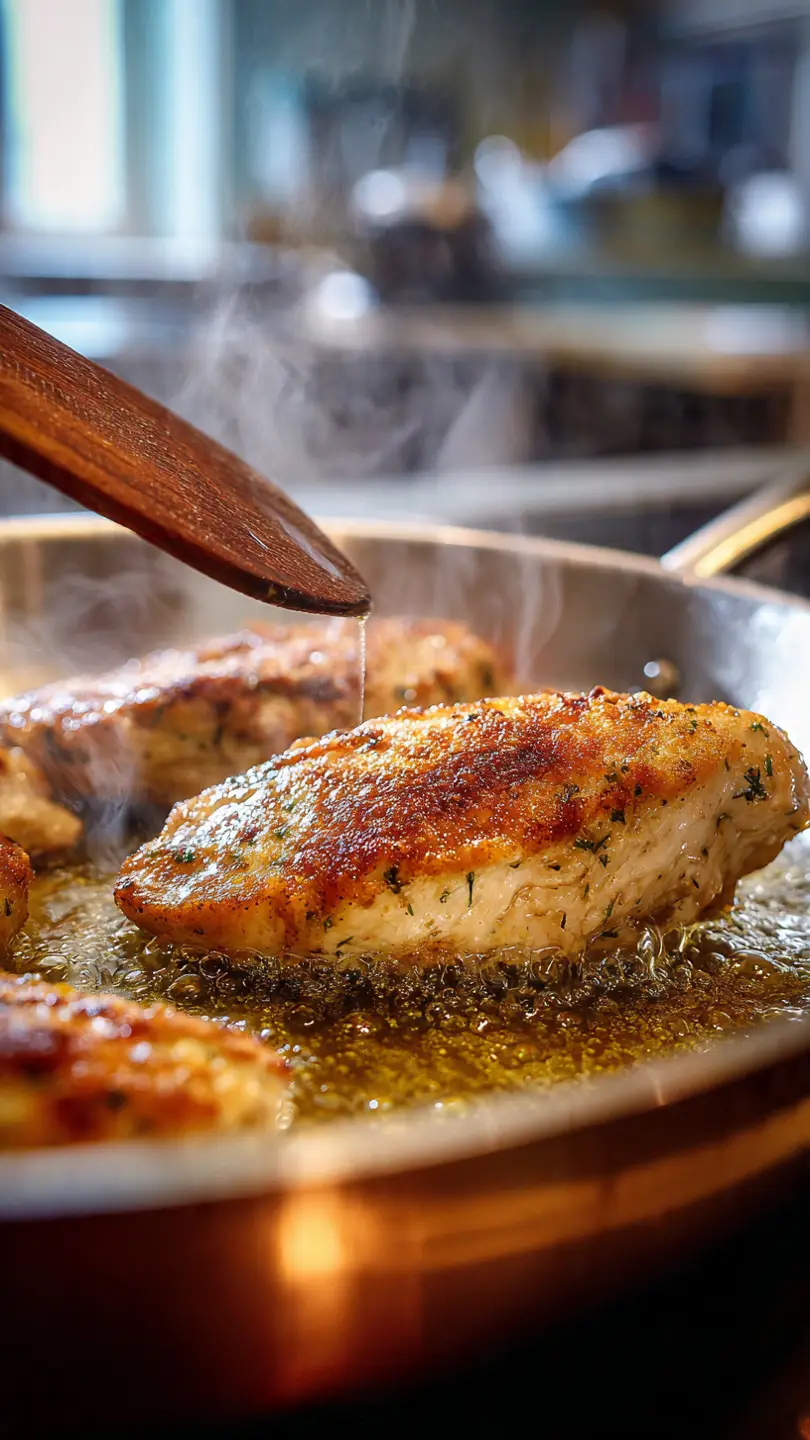
Here’s the step that separates good chicken piccata from great chicken piccata: the sear. Get your skillet hot before the chicken touches it. Use medium-high heat and add olive oil. Wait about two minutes until you see shimmer across the oil surface. That shimmer tells you the pan is ready. If you add chicken to a lukewarm pan, you’ll steam it instead of searing it. Steamed chicken never develops that golden crust we’re after.
Working with two or three pieces at a time (don’t crowd the pan), carefully lay your floured chicken onto the hot oil. You’ll hear an immediate sizzle. That’s the sound of a proper sear happening. Don’t move the chicken for 3-4 minutes. Resist the urge to flip constantly. Let it sit undisturbed so it develops that beautiful golden-brown color on the bottom. When you flip, you should see a gorgeous golden crust. Cook the second side for another 2-3 minutes until golden.
Remove the seared chicken to a clean plate and repeat with remaining pieces. All your chicken should be seared now but not fully cooked through—that’s intentional. It’ll finish cooking when you add it back to the sauce later. The beauty of chicken piccata is this streamlined approach keeps your stovetop clear for the next phase.
Temperature Check
Don’t use medium heat—you need medium-high for proper browning. If your pan smokes, that’s actually good. You’re at the right temperature for a quality sear. Just keep the heat steady and don’t panic.
Building the Piccata Sauce in the Same Pan
This is where chicken piccata becomes elegant. Keep the same pan (don’t wash it—all that fond is liquid gold) and lower the heat to medium. Add the butter and let it melt into the oil that’s left behind. Pour in your chicken broth and use a wooden spoon to scrape the bottom of the pan. That’s deglazing, and it’s pulling all those caramelized bits into your sauce. This is where the depth comes from. Stir frequently for about two minutes as the broth reduces slightly.
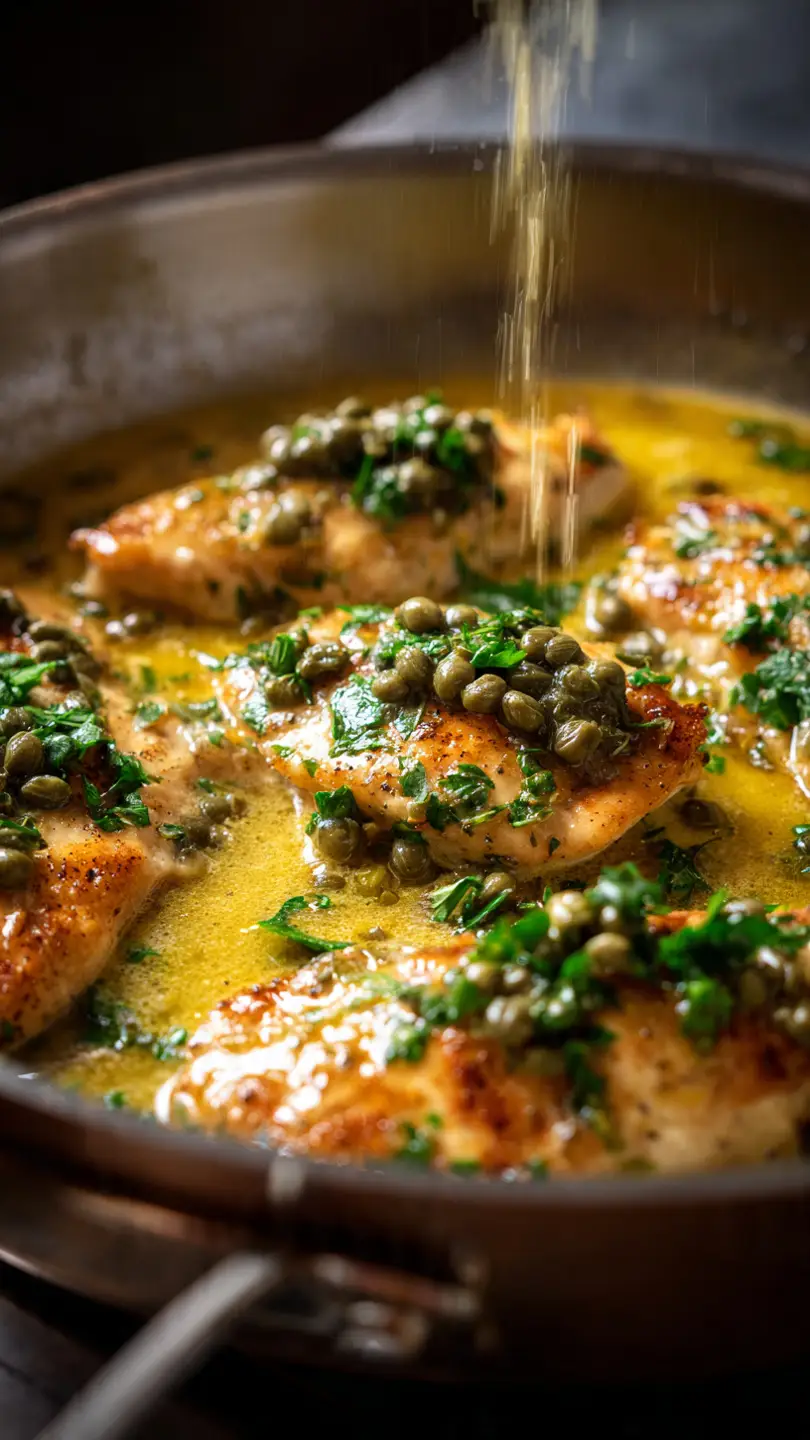
Now add your fresh lemon juice and capers. Stir well and taste. Adjust salt and pepper as needed—remember, your broth was low-sodium, so you have room to season. Let this sauce simmer for about three minutes. It should smell absolutely incredible at this point: bright, tangy, and rich. Add your seared chicken back into the pan, nestling each piece into the sauce. Let everything simmer together for about five minutes so the chicken finishes cooking and absorbs some sauce flavor.
The moment you’ll know it’s ready: the chicken should feel firm when you press it with your finger, and the sauce should coat a spoon lightly. You don’t want a thick, gravy-like consistency—chicken piccata sauce is meant to be light and silky. If it feels too thin, simmer for another minute or two. If it’s too thick, add a splash more broth.
Garnish with fresh parsley right before serving. That pop of green makes a visual difference and adds fresh herbaceous flavor that completes the dish.
Recommended Tools to Make Chicken Piccata Easier
While you can make chicken piccata with basic equipment, a few tools make the process smoother:

OXO Good Grips Meat Mallet
Pounds chicken breasts to perfect thickness without creating splatter. The flat side is ideal for chicken piccata. Makes prep work feel professional and quick. I’ve used mine for years and it’s still going strong.
View on Amazon →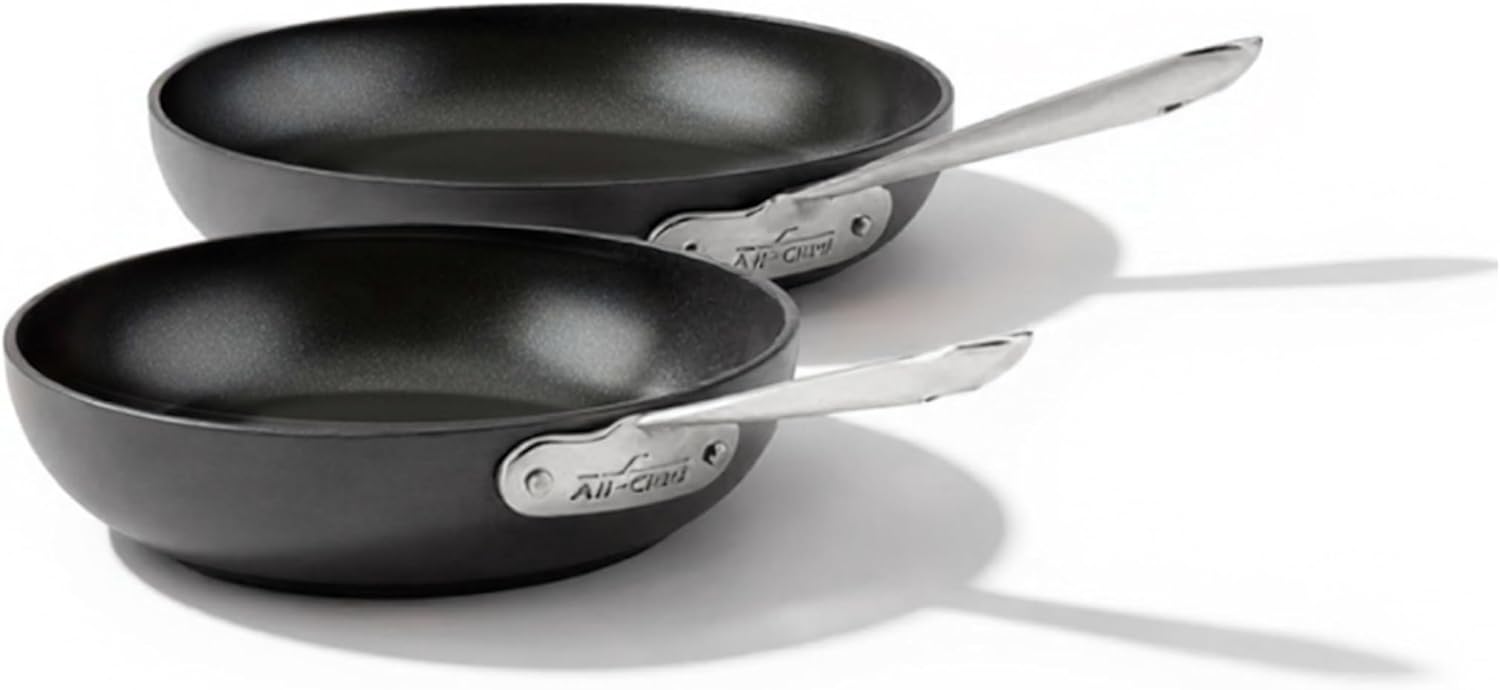
All-Clad Stainless Steel Skillet
A quality 12-inch skillet makes searing and sauce-building easier. The heavy bottom distributes heat evenly, preventing hot spots. Works perfectly for chicken piccata and lives on my stove permanently. Worth the investment for anyone serious about cooking.
View on Amazon →
Zulay Heavy Duty Lemon Squeezer
Fresh lemon juice is essential for authentic chicken piccata. This squeezer gets every drop from your lemons without pulp. No seeds, no fuss—just pure juice. Once you use a quality juicer, you’ll never go back to bottled.
View on Amazon →What to Serve With Chicken Piccata
Chicken piccata doesn’t need much accompaniment, but the right sides make it feel like a complete restaurant meal. The sauce is rich enough to stand alone, yet bright enough to complement nearly anything you pair it with. Think about balance: you want something that won’t compete with those bright lemon and caper flavors. Starch absorbs the sauce beautifully, while vegetables add texture and freshness. The key is choosing sides that feel intentional rather than obligatory.
Pasta, Rice, and Vegetable Pairings
Pasta is the classic choice with chicken piccata—and for good reason. Buttered egg noodles soak up every drop of sauce. Fettuccine, linguine, or even simple spaghetti works beautifully. I typically cook pasta separately, then toss with butter and parsley before plating the chicken on top. This way, each person gets the sauce they want rather than everything being mixed together.
Rice is equally excellent. A simple risotto or even plain jasmine rice provides a neutral canvas for the sauce. Risotto actually elevates chicken piccata because the creamy rice plays against the bright lemon sauce. If you want something faster, jasmine rice or basmati takes 20 minutes and pairs perfectly.
For vegetables, roasted asparagus or green beans are my go-to choices. Toss them with olive oil, salt, and pepper, then roast at 400°F for 15 minutes while you’re cooking the chicken. They add color, nutrition, and a slight textural contrast to the tender chicken and silky sauce. Sautéed spinach or zucchini work too—anything green and fresh complements the lemon beautifully.
Make-Ahead and Storage Tips
You can prep ingredients for chicken piccata hours ahead. Pound and flour your chicken in the morning, then cover and refrigerate until dinner. The sauce components are also ready to go: capers drained, lemon juiced, broth measured. This setup means you’re actually cooking for just 20 minutes at dinner time.
Leftovers are tricky because the sauce and chicken don’t store as well together. Instead, refrigerate them separately in airtight containers. The chicken keeps for three days; the sauce keeps for four. When reheating, warm the sauce gently in a pan on low heat, then add the chicken just to warm through. Avoid microwaving because it dries out the chicken.
Freezing isn’t ideal for chicken piccata once it’s cooked—the texture of both the chicken and sauce suffers. However, you can freeze the raw, pounded, floured chicken for up to two months. Thaw overnight before cooking. The sauce doesn’t freeze well because the lemon juice and capers lose their bright flavor.
Pro Tips for Perfect Chicken Piccata Every Time
- Room Temperature Chicken: Take chicken out of the fridge 15 minutes before cooking so it cooks evenly, not cold in the center.
- Consistent Thickness: Your pounding efforts matter—uneven chicken means uneven cooking and texture.
- Don’t Rush the Sear: Low heat gets you steamed chicken. Medium-high heat and patience get you restaurant results.
- Fresh Lemon Only: Bottled juice tastes flat. Fresh lemons cost pennies more and transform the dish.
Chicken Piccata Recipe: Easy 25-Minute Lemon Caper Dish
Equipment
- 12-inch Stainless Steel Skillet
- Meat Mallet
- Cutting Board
- Wooden Spoon or Spatula
- Measuring Cups and Spoons
- Lemon Juicer
Ingredients
Chicken
- 4 each boneless, skinless chicken breasts about 1.5 lbs, pounded to 1/4-inch thickness
- 1/2 cup all-purpose flour for dredging
- 1/2 tsp salt for seasoning
- 1/4 tsp black pepper freshly ground
Sauce
- 2 tbsp olive oil for searing
- 2 tbsp butter for sauce
- 1 cup low-sodium chicken broth
- 1/4 cup fresh lemon juice from 2-3 fresh lemons
- 1/4 cup capers drained and rinsed
- 2 tbsp fresh parsley chopped, for garnish
Instructions
- Place chicken breasts on cutting board and pound to 1/4-inch thickness using a meat mallet. Use gentle, even strokes to achieve uniform thinness.
- Season both sides of pounded chicken generously with salt and black pepper. Let sit for 1 minute to allow seasoning to adhere.
- Dredge each chicken piece lightly in flour, shaking off excess. Place on paper towel-lined plate until ready to cook.
- Heat olive oil in a 12-inch skillet over medium-high heat. Wait about 2 minutes until oil shimmers across the surface.
- Working with 2-3 pieces at a time (don’t crowd pan), carefully lay floured chicken onto hot oil. You’ll hear an immediate sizzle—this is good!
- Sear chicken for 3-4 minutes without moving it, letting golden-brown crust develop on bottom. Flip and cook second side 2-3 minutes until golden.
- Remove seared chicken to clean plate. Repeat with remaining pieces. Chicken should be seared but not fully cooked through—it will finish in the sauce.
- Lower heat to medium. Add butter to same pan and let it melt into the oil remaining from searing.
- Pour in chicken broth and use wooden spoon to scrape the bottom of pan, lifting all caramelized bits (fond). Stir frequently for 2 minutes as broth reduces slightly.
- Add fresh lemon juice and capers to the sauce. Stir well and taste. Adjust salt and pepper as needed.
- Let sauce simmer for 3 minutes. It should smell bright, tangy, and rich. Return seared chicken to pan, nestling pieces into sauce.
- Simmer chicken in sauce for 5 minutes, allowing it to finish cooking and absorb sauce flavors. Sauce should be light and silky, not thick and gravy-like.
- Press chicken with your finger—it should feel firm when fully cooked. If sauce seems too thin, simmer 1-2 minutes more. If too thick, add splash of broth.
- Garnish with fresh parsley right before serving. The pop of green adds visual appeal and fresh herbaceous flavor that completes the dish.
Notes
FAQs
Can I make chicken piccata without pounding the chicken?
Technically yes, but I wouldn’t recommend it. Unpounded chicken takes 8-10 minutes per side to cook through, giving you a textural mismatch between the over-browned exterior and the cooked interior. Pounding solves this completely. Plus, thin chicken is actually the defining characteristic of authentic chicken piccata. It’s worth the extra two minutes.
What’s the difference between chicken piccata and chicken picatta?
They’re the same dish—just different spelling variations. “Piccata” is the Italian spelling and the more common usage in America. Both refer to the same preparation: thin, breaded, pan-fried chicken with a lemon-caper sauce. You’ll see both spellings on menus, but “piccata” is considered standard.
Can I use chicken thighs instead of breasts?
Yes, but the cooking changes slightly. Chicken thighs take longer to cook through because they’re thicker. You’d need to pound them less aggressively (about 3/8-inch thick rather than 1/4-inch), and extend cooking time by 2-3 minutes. The flavor would be richer, and the meat more forgiving if slightly overcooked. Many cooks actually prefer thighs for this reason.
Why doesn’t my sauce taste as bright and lemony as restaurant versions?
Most home cooks use too much broth or too little lemon juice. The ratio matters: you want about 1/4 cup fresh lemon juice to 1 cup broth. If you’re hesitant about sourness, start with 3 tablespoons lemon juice and taste your sauce before serving. You can always add more. Restaurant kitchens don’t hold back on citrus, and neither should you.
Is chicken piccata naturally gluten-free?
Not in the traditional recipe because flour is used for dredging. However, you can easily make chicken piccata gluten-free by using cornstarch, rice flour, or a gluten-free all-purpose blend instead. The dredging step still works perfectly—the finished dish tastes identical.
More Delicious Chicken Recipes You May Like
- Marry Me Chicken Pasta: Creamy Garlic Chicken Perfection
- Chicken Bryan Recipe: Grilled Chicken with Lemon Butter Sauce
- Maryland Fried Chicken Recipe: Crispy and Golden
- Alice Springs Chicken: Outback Steakhouse Copycat
- Garlic Parmesan Chicken Pasta: Easy Crockpot Version
- Crispy Baked Chicken Wings: Restaurant-Quality Wings